
Calcs & Events
This module covers Canary's Calculation service. The Calculation service acts as a client, connecting to the Views service to read data from the Historian to perform "jobs" which are outputted in the form of calc tags or events. Calc tags are written to the Historian using the Store & Forward service whereas events are stored in a SQLite database.
Jobs are triggered to run periodically at set intervals (i.e. once a day, every 15 minutes, etc.) or on a subscription basis whenever any one input to the job changes. When a job initially starts, it backfills historical calculations and events from a set datetime based upon the user's configuration. Jobs can be rebackfilled at a later point in time if needing to correct erroneous data.
As the Calculation service is its own source, calc tags should be written to a separate DataSet. This also aids in the scenario the user may want to delete their calculated data and start over again.
For this module, we will walk through an example of a calc tag and an event. The remaining jobs can be imported using the file attached at the top of the article.
Calc Tag Output
- Open the Calcs & Events tile and click +ADD.
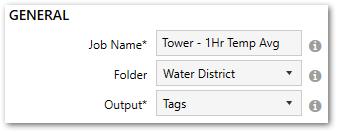
- Configure the following GENERAL settings:
- Job Name = Tower - 1Hr Temp Avg
- Folder = Water District
- Output = Tags
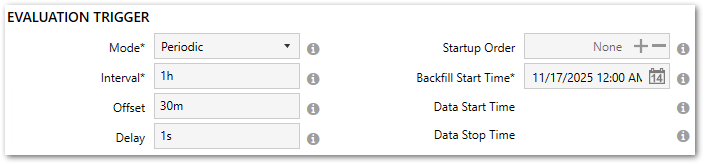
- Configure the following EVALUATION TRIGGER settings:
- Mode = Periodic
- Interval = 1hour, 1h, or 1:00:00 (the job will run every hour)
- Offset = 30minutes, 30m, or 00:30:00 (the job will run at the bottom of the hour, i.e. , 6:30, 7:30, 8:30, etc.)
- Set the Backfill Start Time to a date time that is appropriate for the data that is stored in the Historian. When the job starts, it will backfill data from this point forward until it reaches Live mode.
- Configure the following ASSET CONTEXT settings:
- Path = Water District
- Type = Tower
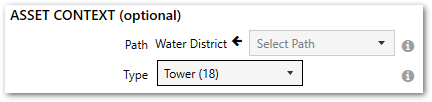
Because we defined asset types in the Water District virtual view we created in the last module, we can set a job to target a specific asset type which will output a tag or event for each asset instance. In this case, we have 18 distinct Towers, so we can expect the job to output, at most, 18 unique tags (provided each instance has the required input tag).
A job does not need to be asset-based. It can target a single tag.
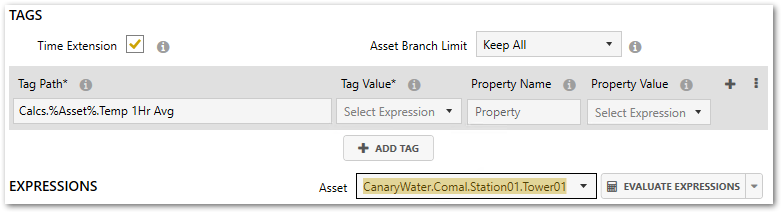
- Set the output Tag Path. This is the name of the tag that will be stored in the Historian. The tag path should start with the DataSet followed by any number of branches then the metric tag name.
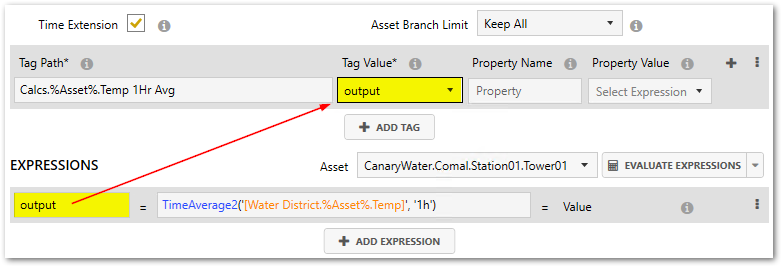
Since this is an asset-based job, the tag path must contain the string, %Asset%. This acts as a placeholder for each unique path that represents a Tower. You can see a list of each Tower instance within the Asset drop-down.- Tag Path = Calcs.%Asset%.Temp 1Hr Avg
- Build an expression that returns a 1-hour time-average using the Tower's [Temp] tag.
- Clicking within the Value Expression field will allow you to choose functions and tags from the Expression Builder on the right side of the screen. Search for the TimeAverage2 aggregate within the Functions menu. Clicking a function will display a brief description along with the expected inputs for its parameters underneath the list. Anything contained within [square brackets] is optional. Click + to add it to the expression.
- Expand the Asset Tags menu at the bottom of the Expression Builder and add (+) the [Temp] tag to the expression. If you haven't clicked anywhere else within the expression yet, the tag should be added to the first input of the TimeAverage2 function.
- Edit the 2nd set of single quotes and insert '1h' for a 1-hour duration. Your expression should look like this when you are finished:
TimeAverage2('[Water District.%Asset%.Temp]', '1h')
You will notice the [Temp] tag also contains the %Asset% placeholder for the same reason already mentioned in Step 5. - Set the expression equal to the variable Key, 'output'.
- Select output from the Tag Value drop-down list next to the Tag Path.
- APPLY changes. A message will appear indicating the Calcs DataSet does not exist and will be created automatically when the job starts. Click Yes.
- Navigate back to the Jobs main screen using the back arrow and select the job from the Water District folder. Click the START button. The job will backfill historical data for all 18 Towers before it reaches Live Mode.
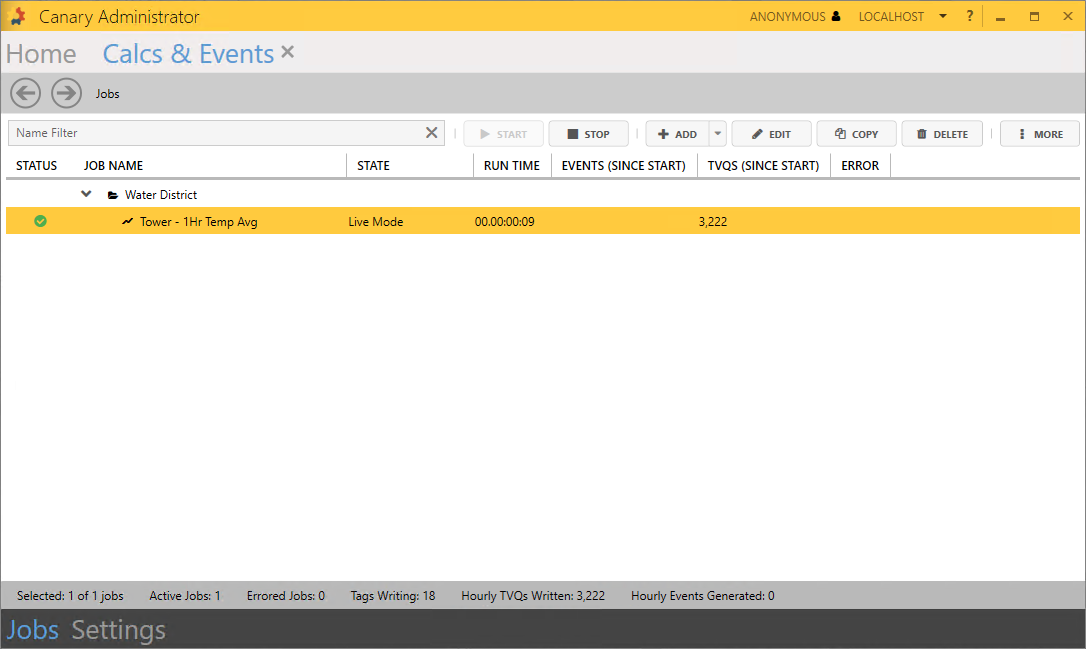
You should be able to navigate to the Historian tile and confirm that the Calcs DataSet has been created and that there are 18 tags being written to it.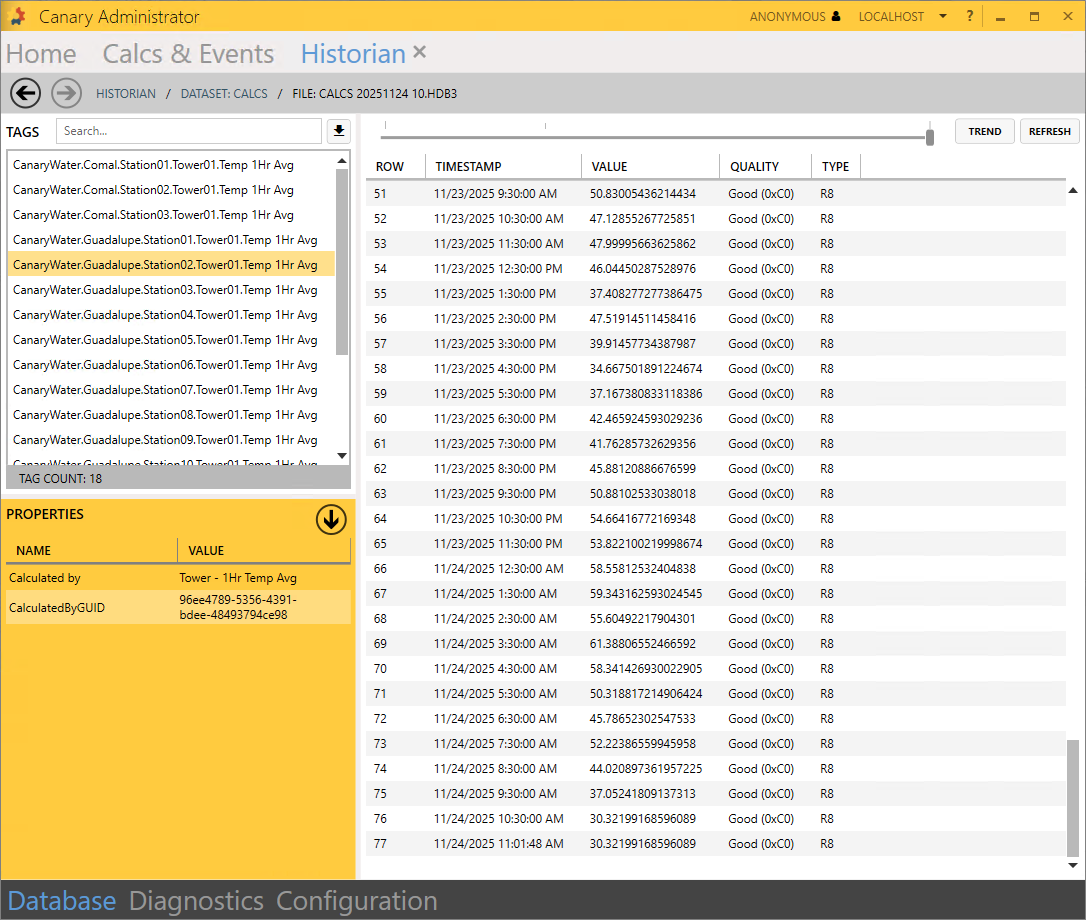
Updating the Virtual View
For our next job, we will configure an event based upon the calculation we just created, but before we can do that, we need to update the Water District virtual view. Currently, the view does not know the [%Asset%.Temp 1Hr Avg] tag exists because it resides in the Calcs DataSet which was not included in the creation of the view. This is to be expected.
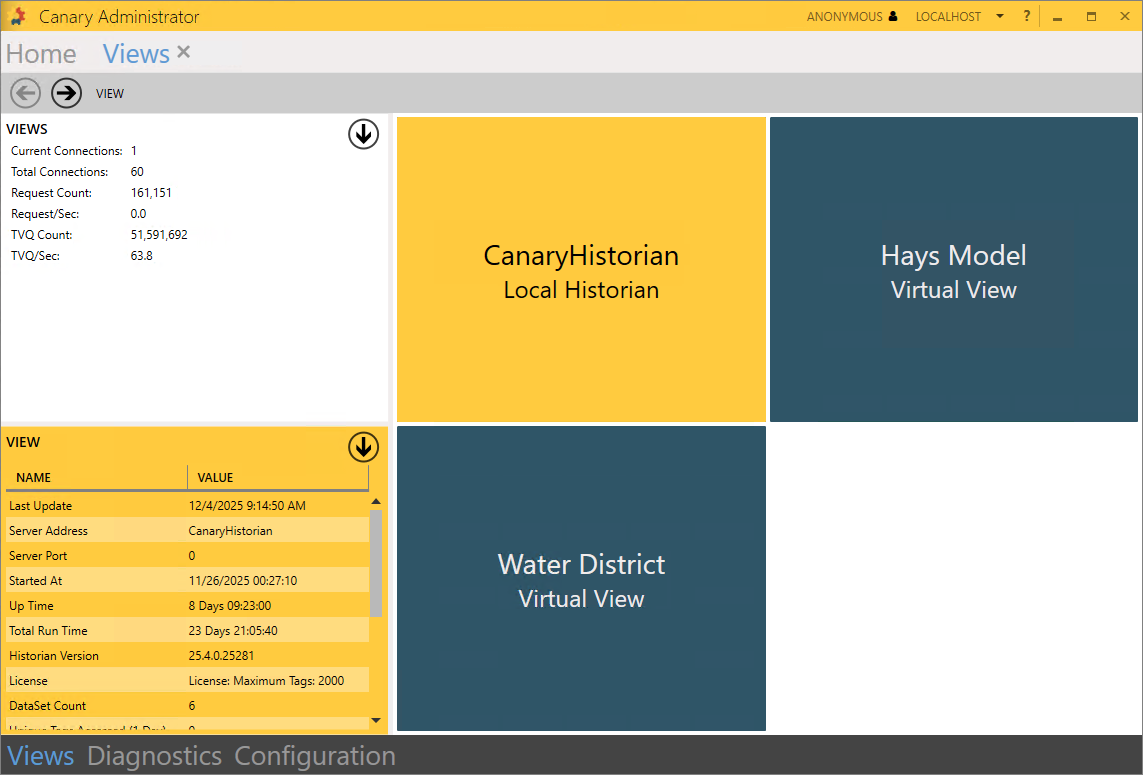
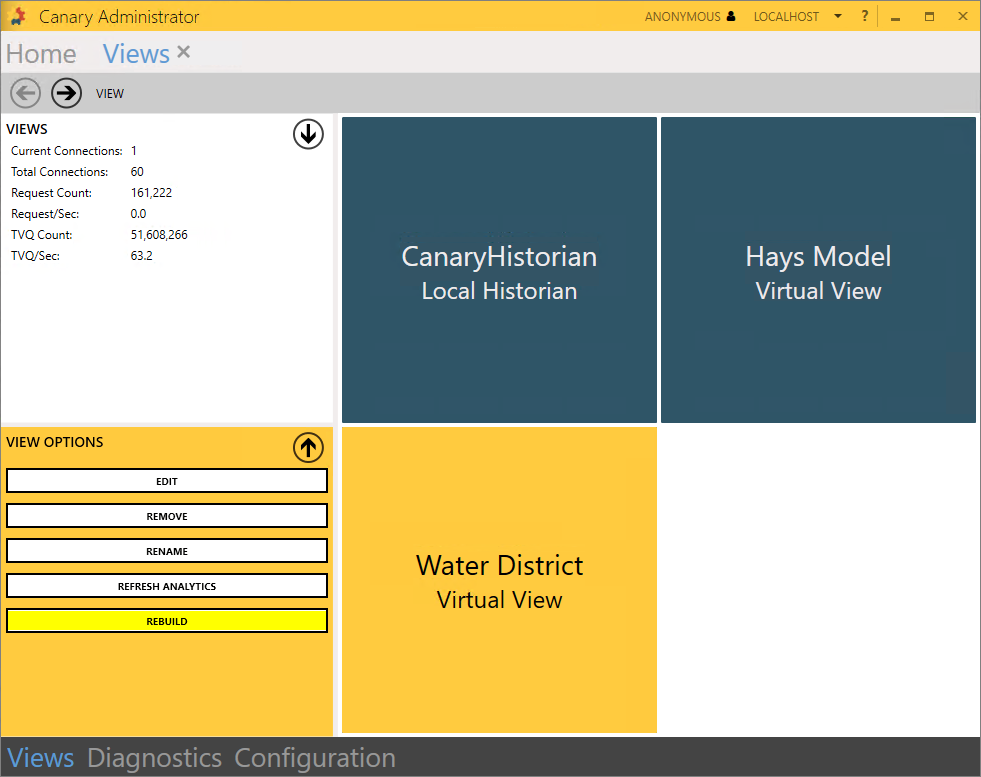
- Navigate to the Views tile and select the Water District tile. Click the EDIT button from the VIEW OPTIONS.
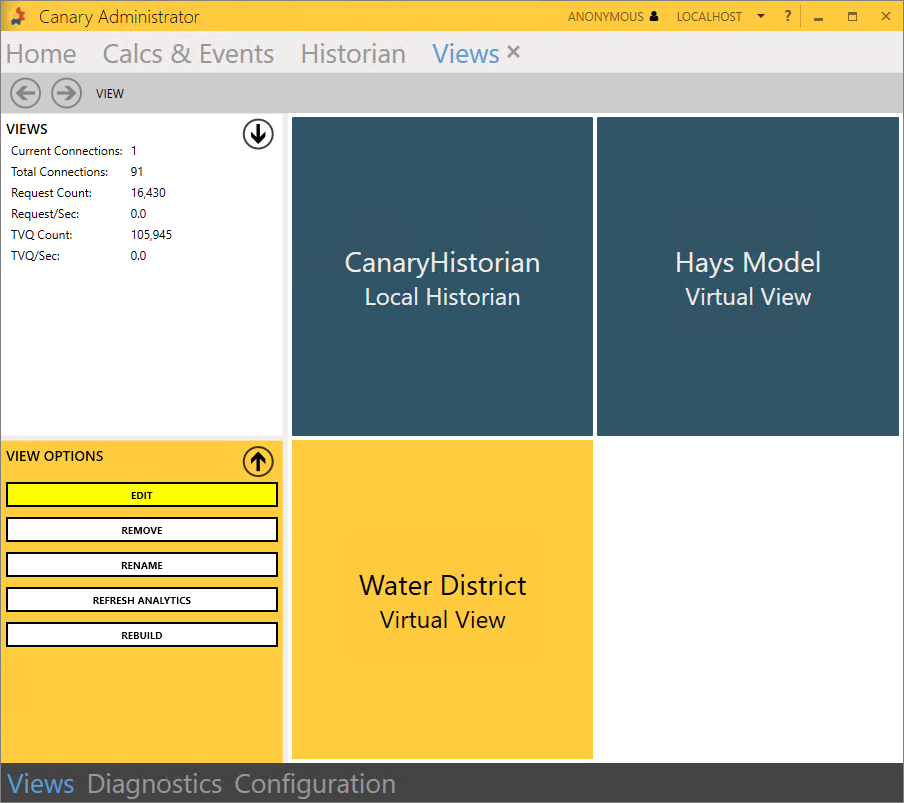
- Click the PROPERTIES button on the right and update the Source View field to include 'localhost.Calcs'. Sources are separated by semi-colons (;).
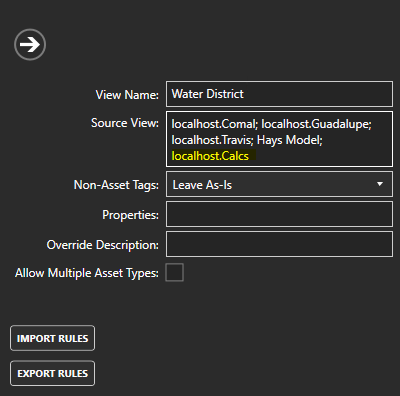
- Collapse the fly-in menu and APPLY changes. CLOSE the edit screen and confirm the [%Asset%.Temp 1Hr Avg] tag resides within the Water District view by drilling down into a Tower instance.

Now, future calc tags written to the Calcs DataSet will get picked up automatically by the Water District view once it rebuilds.
Event Output
- Navigate back to the Calcs & Events tile and +ADD a new job.
- Configure the following GENERAL settings:
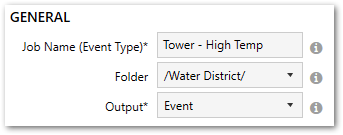
- Job Name = Tower - High Temp
- Folder = Water District
- Output = Event
- Configure the following EVALUATION TRIGGER settings:
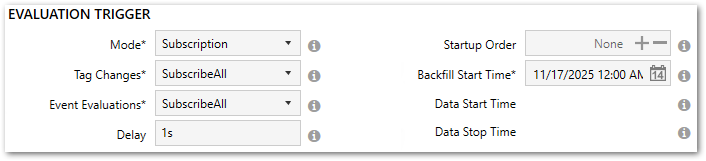
- Mode = Subscription
- Tag Changes = SubscribeAll
- Event Evaluations = SubscribeAll
- Set the Backfill Start Time to a date time that is appropriate for the data that is stored in the Historian. When the job starts, it will backfill data from this point forward until it reaches Live mode.
- Configure the following ASSET CONTEXT settings:
- Path = Water District
- Type = Tower
- Jump down to the EXPRESSIONS settings to build an expression that will evaluate True or False. For this example, we are going to compare the current value of the [Temp] tag to its [Temp 1Hr Avg]. If the current temperature is 50% greater than the 1-hour average, this will start the event.
[Water District.%Asset%.Temp]>[Water District.%Asset%.Temp 1Hr Avg]*1.5
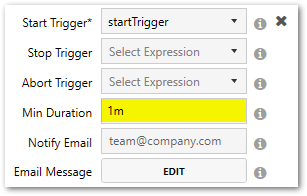
- Set the expression equal to the variable Key, 'startTrigger', then select it from the Start Trigger drop-down.

Only the Start Trigger is required. If a Stop Trigger expression is not configured, the event will conclude whenever the startTrigger expression evaluates False.
- Set the Min Duration to '1m' or '1minute'. This is the amount of time that must elapse while the expression is in a True state before being considered an event.
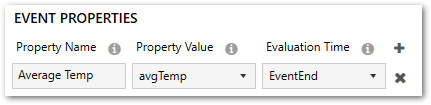
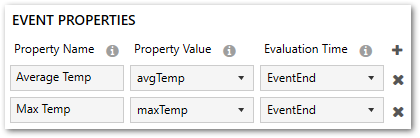
- Next, we will create some EVENT PROPERTIES that will be calculated for each event instance. For this event, we want to know the average temperature throughout the event duration and what the max temperature was.
- Click the ADD EXPRESSION button at the bottom of the screen and configure the following expression: TimeAverage2('[Water District.%Asset%.Temp]', EventDuration)
Set it equal to the variable Key, 'avgTemp'.
- Add another expression:
Maximum2('[Water District.%Asset%.Temp]', EventDuration)
Set it equal to the variable Key, 'maxTemp'.
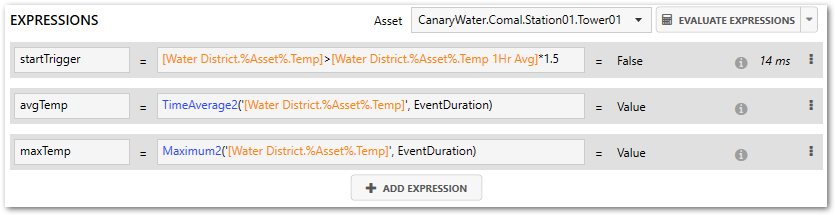
Notice we use the keyword 'EventDuration' within each function instead of a fixed interval such as '1h' or '15minutes' for the duration parameter.
- Click the ADD EXPRESSION button at the bottom of the screen and configure the following expression: TimeAverage2('[Water District.%Asset%.Temp]', EventDuration)
- Add (+) an event property and set the Property Name to 'Average Temp'. Select avgTemp from the Property Value drop-down.
- Add (+) another event property and set 'Max Temp' to maxTemp.
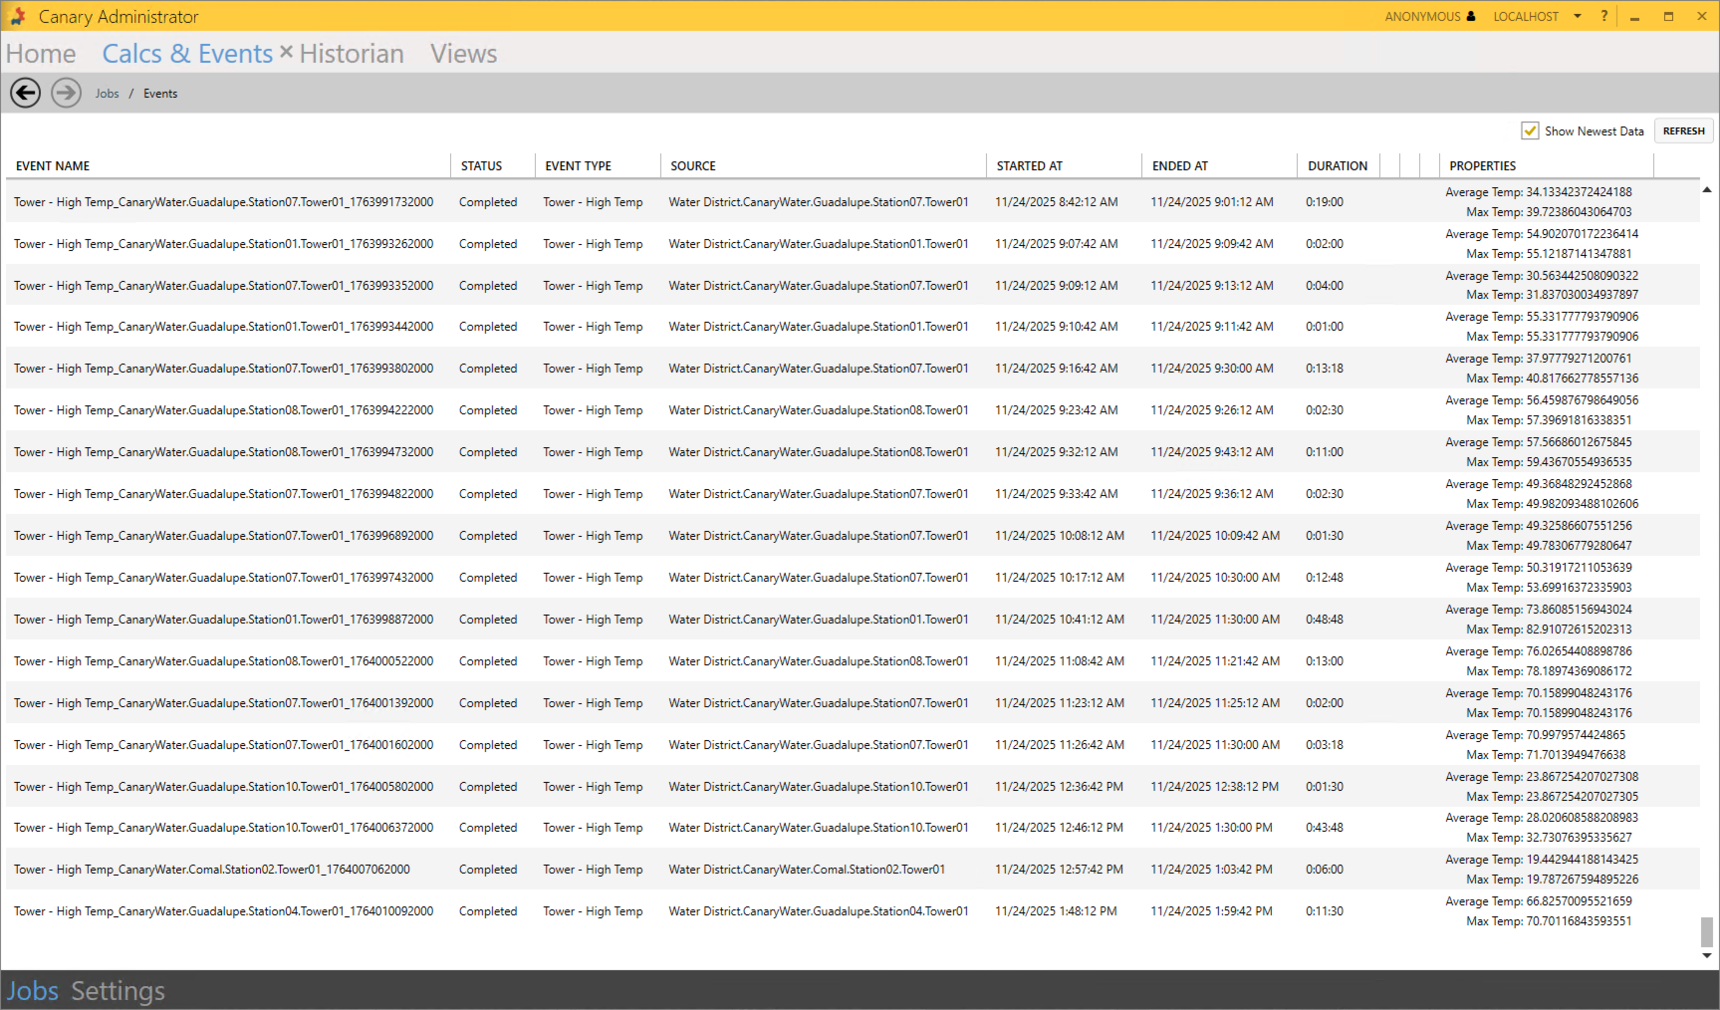
- APPLY changes and navigate back to the main screen to start the job. Once backfilling is complete, you can view the individual event instances by right-clicking the job and selecting Browse Events.
Importing Jobs
The WaterDistrictCalculations.json file attached at the top of the module contains additional calculations you may want to include. From the main Jobs screen, you can import/export calculations from one Calculation service to another. In a real-world scenario, a user may test the jobs they create in a dev environment before migrating them to production.
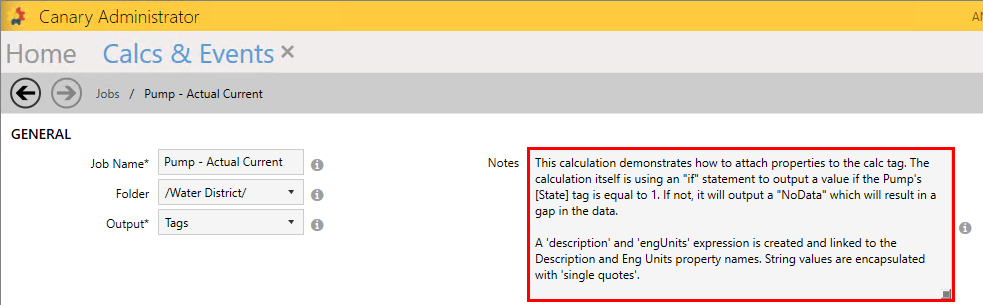
The Notes section in each job contains details about what the calculation is doing and some of the features being used.
- From the Jobs screen, click the MORE button on the right side and select Import Jobs.
- Click the CHOOSE FILE button and browse for the WaterDistrictCalculations.json file.
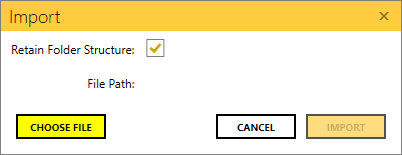
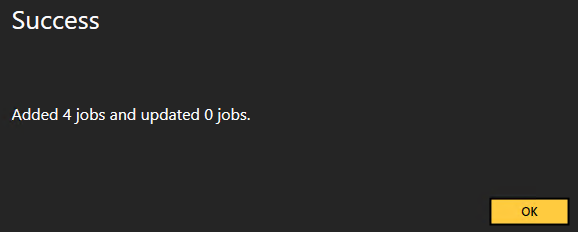
- Click IMPORT. A confirmation dialogue should appear indicating the import was successful.
- Select the imported jobs from the list using a Shift+Click and click the START button.
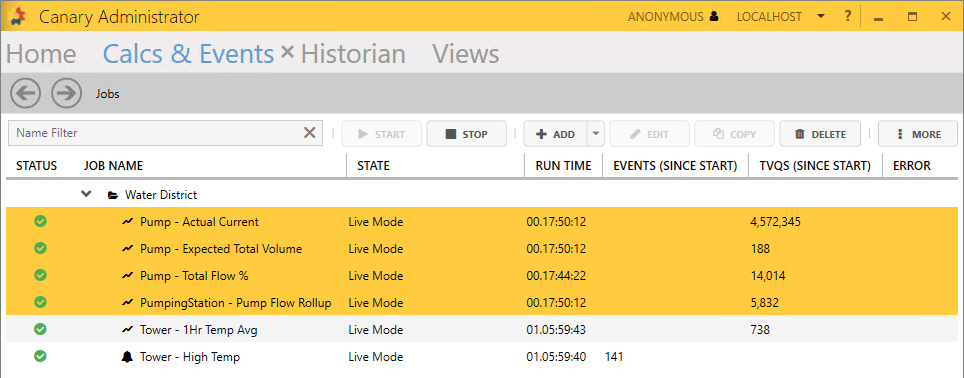
The "Pump - Total Flow %" job will first be in an Error state as it is dependent on "PumpingStation - Pump Flow Rollup" and cannot backfill until the Water District view rebuilds with the newly logged tags. This may take 5-10 minutes. If you do not want to wait for the automatic rebuild to occur, you can manually force it. You will first need to rebuild the Calcs DataSet, followed by the Water District view.- Navigate to the Views tile and open the Local Historian view.
- Highlight the Calcs DataSet and click REBUILD from the VIEW OPTIONS window.

- Navigate back to the top View screen and do the same for the Water District view.
- If the "Pump - Total Flow %" job is still in an Error state, STOP and START it.
- Navigate to the Views tile and open the Local Historian view.