
Opening and Navigating the Software
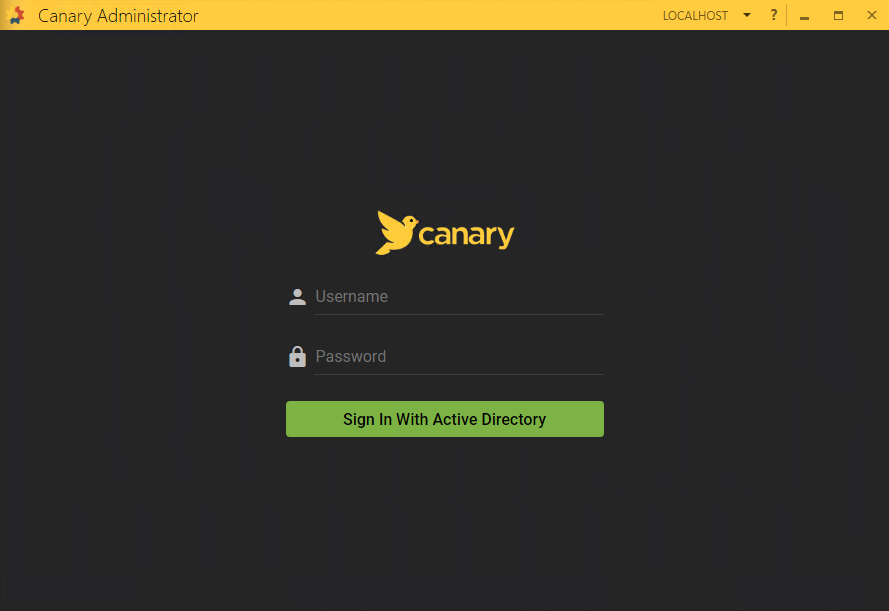
Once installation is complete, the software can be configured by opening the Canary Admin client.

You will first be presented with a login screen where you can provide Windows credentials using a domain account or a local user account. By default, Canary uses Windows AD for authentication.
Navigation
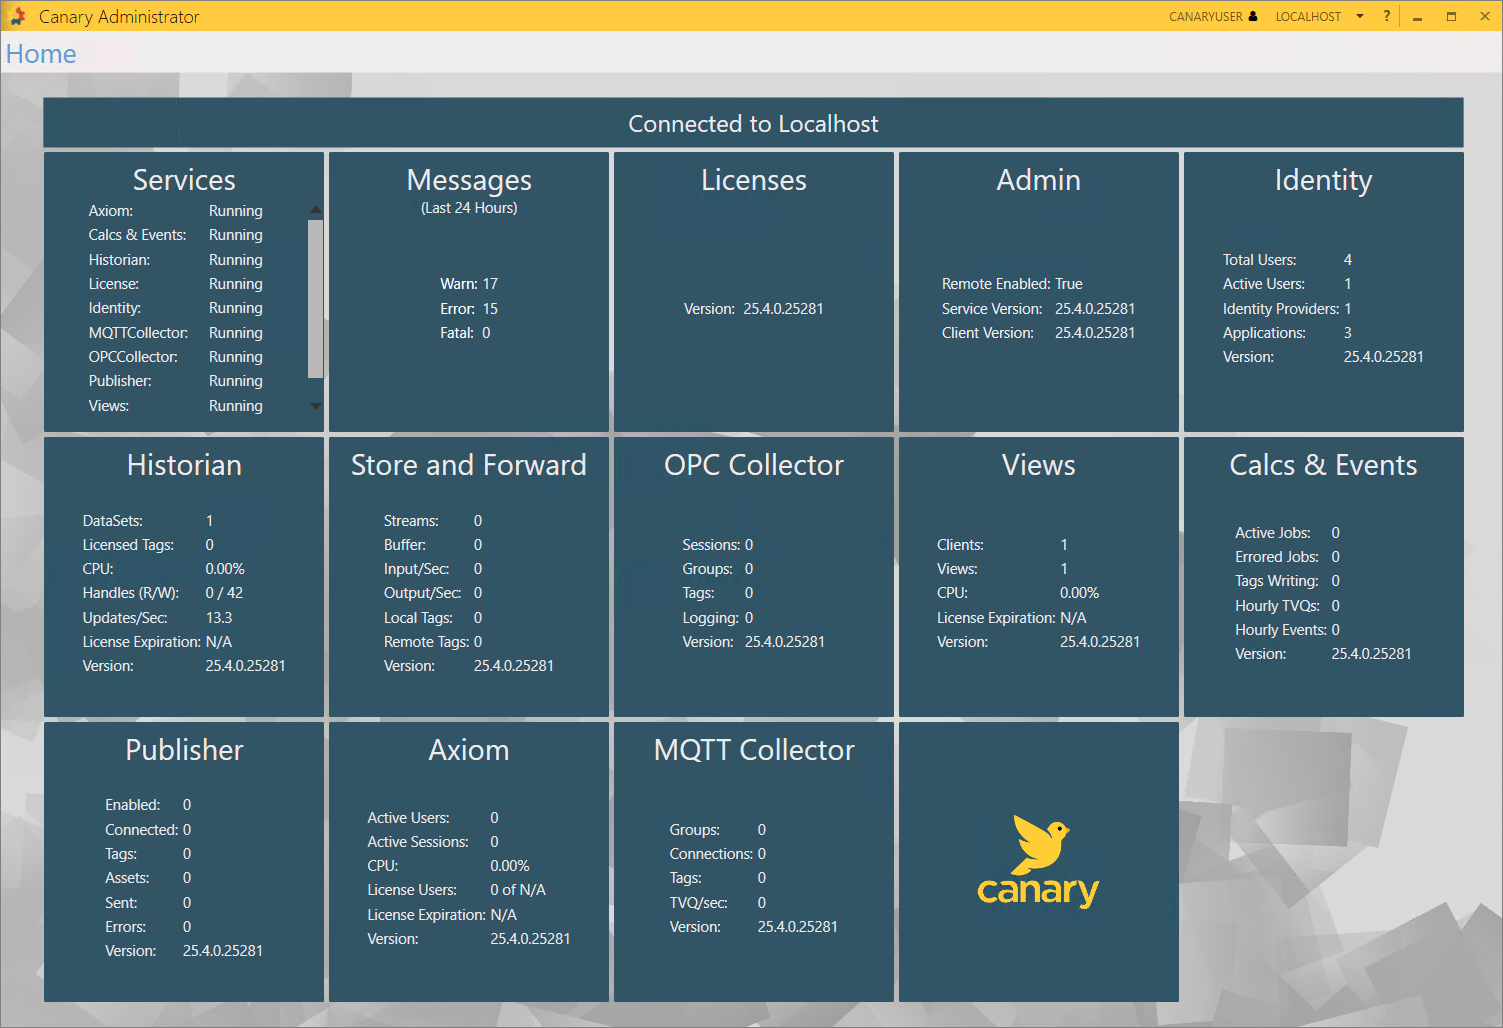
Once authenticated, you will be presented with the Home screen displaying various tiles for the services that have been installed.
Authentication
If you want to enable an alternative method for logging into Canary's software, open the Identity tile and select the Configuration tab at the bottom.
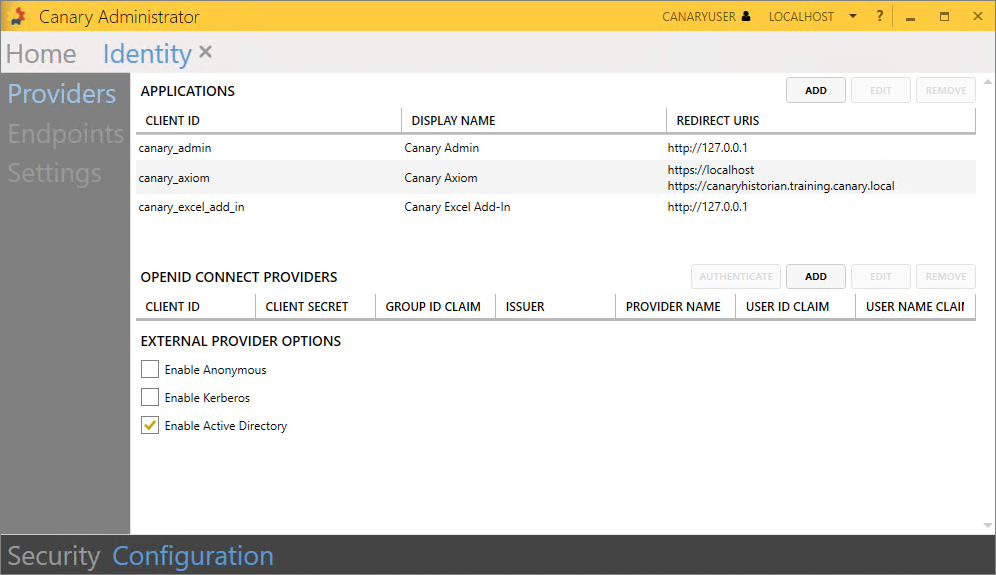
The Identity service is responsible for authenticating and authorizing users within the software. From this screen you can enable the Anonymous login, Kerberos, or add an OpenID Connect provider for advanced use. If installing the software in a test environment, you may just want to enable Anonymous for ease of use.
Data Storage
The Historian tile will contain the DataSets (which act like folders) that store the data coming from the Collectors. By default, a {Diagnostics} DataSet is created which contains system performance tags. You can drill all the way down to the tag level by opening the DataSet, then the daily file that is being currently written to, followed by the tags themselves. Selecting a tag from the list on the left will reveal its updates or TVQ's (timestamp value quality) on the right.
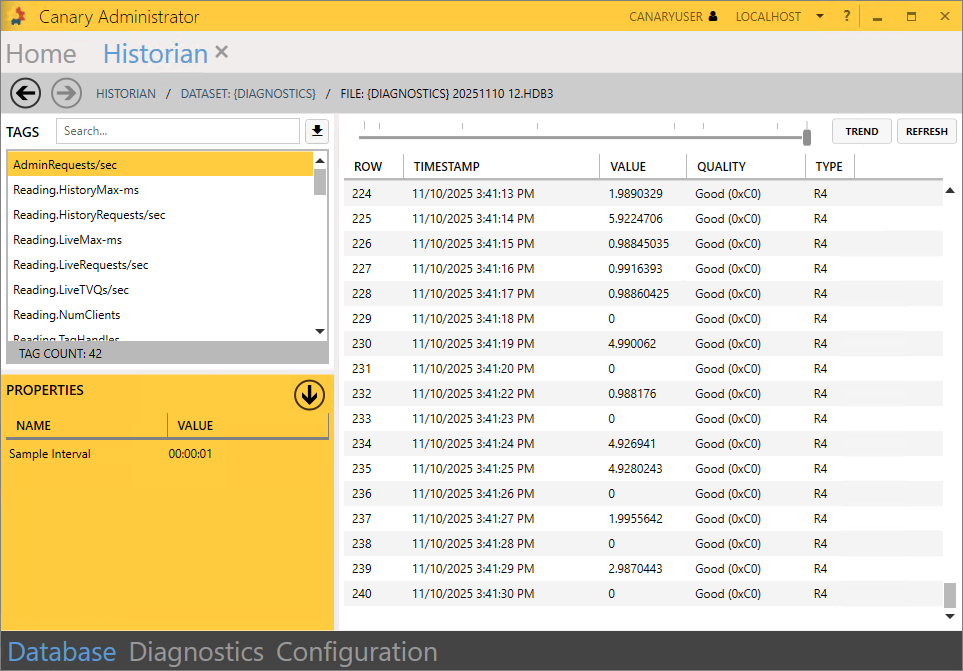
More DataSets will be created as data logging begins later in the project.
For more information on the Canary Admin and its navigation, see Using the Canary Admin Client.