
How To Create an Automated Report in Axiom (version 24)

Automated Reports allow the user to send a screenshot of a specific chart or application at a specific time of day, week, or month. These images are stored as PNG files and can be sent via email if the Canary system is configured to do so. (See Configuring the Canary System to Send Email Alerts)
To create a report, click the hamburger menu of the Axiom screen in the upper left-hand corner and select Automated Reports .
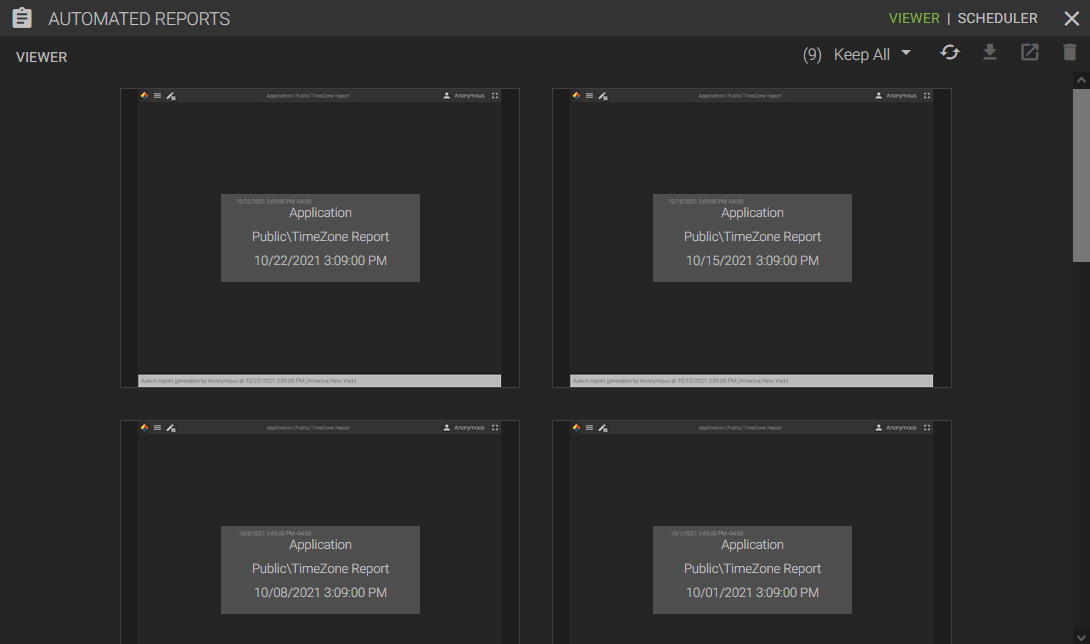
The AUTOMATED REPORTS screen will appear with two tabs to select from: VIEWER and SCHEDULER. The Viewer window will display a screenshot of all the reports that have been previously generated. The Scheduler window displays a list of the reports that are scheduled to run.
To schedule an Automated Report:
- Select the SCHEDULER tab and click the '+' icon to create a new report. The ADD REPORT menu will appear.

- Using the Mode drop-down menu, choose whether the report will run: Weekly, Monthly, Advanced Cron, or Event Completed.
- If Weekly...
- Set the desired time (using a 24-hr clock format) and highlight the days on which you want the report to run.
- If Monthly...
- Set the desired time and day(s) of the month on which you want the report to run. Use 'L' in place of a number if you want the report to run on the last day of the month.
- If Advanced Cron...
- Cron job reports use a 3rd party library, Quartz, to run. It may be useful to understand the syntax of Quartz triggers and expressions. For this information, visit http://www.quartz-scheduler.org/documentation/quartz-2.3.0/tutorials/crontrigger.html
- If Event Completed...
- The report will be sent upon completion of an event. These are events configured within the Canary Admin client. See How to Create an Event for more details.
- Event Server - name of the server where the Calcs & Events service is running. This will most likely be localhost unless the Axiom Core is installed remotely from the Calcs & Events service.
- Choose the Event Type.
- If it is an asset-based event, an optional Event Source Path may be used to filter upon which assets will trigger the report to be sent.
- The report will be sent upon completion of an event. These are events configured within the Canary Admin client. See How to Create an Event for more details.
- If Weekly...
- Select an Application or Chart to be used for the report using the FILE field. A report can contain multiple pages from different applications/charts by selecting the '+' icon.
- Optional - If selecting an application (not a chart) from step 3 which has multiple screens, the user can specify which screen to capture using the Screen Name option. By default, the report will use the first screen unless specified otherwise.
- Optional - If selecting an application (not a chart) from step 3, the user can choose to load a specific asset using the Asset Instance option. This is only applicable if the application makes use of assets as defined in Canary Views and the screen is set to an asset type. The report will capture the specified asset instance.
- Optional - Input an email address(es) separated by commas or semicolons to any recipient you wish to receive the report.
- Optional - Check the box to Include Attachment if you want the email to contain a PDF of the report; otherwise, only a link will be sent containing the image.
Is Axiom Installed Remotely from the Identity Service?
If so, Axiom will need to be configured with an API token to run its reports.
- On the server where the Identity service is installed, open the Canary Admin client and navigate to Identity tile>Security>API Tokens.
- Copy the API token marked "Default token for Axiom Reporting."

- On the server where the Axiom service is installed, open the Canary Admin client and navigate to Axiom tile>Configuration>Settings.
- Paste the token into the Identity API Token field.

- Click APPLY when the red banner appears.
4 replies
-
What is the course of action if the Email Address box is greyed out no matter what mode is selected? Does this feature need to be enabled?
-
Hi ,
That would indicate that the system is not configured to send email notifications. You would need to ensure this is enabled first: https://helpcenter.canarylabs.com/t/g9y8g1z/configuring-the-canary-system-to-send-email-alerts-version-24.
-
If I have an application that has many screens and screen 1 is a summary page of all the other screens, how do I create a report of only screen 1. Currently when I choose screen 1 (or no screen at all) the report generates with errors saying that the other screens do not exist in the current context. These errors don't happen in normal run mode.
