How To Create an Event (version 25)
Major updates to the Calcs & Events tile which are reflected in this article occurred in v25.4. If using versions 24-25.3.1 click here.
Events in Canary are conditioned-based, monitoring live data as it flows into the Historian. Whenever a certain condition is met (Start Trigger) for a certain amount of time (Minimum Duration) an event is created. Upon creation, an email notification can be sent out to alert users of the occurrence provided the Canary system is configured to do so (See Configuring the Canary System to Send Email Alerts). The event does not end until either the Start Trigger is false, a configured Stop Trigger condition is true, or a configured Abort Trigger condition is true.
Similar to calculations, events can be backfilled to find historical events. Email notifications are not triggered to send during this process.
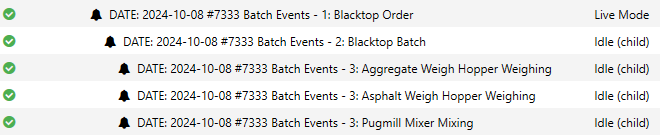
Starting in v25.4, events can be hierarchical having their own child events that are only monitored if the parent event is active. If an event is asset-based, a child event must be based on the same asset type as the parent or a child asset. From a U/I perspective, child events are indented underneath their parents.
By default, Canary stores its events in a local SQLite database; however, it can be configured to store them in an external Microsoft SQL database. See Storing Events in an External SQL Database.
Configuration
- Open the Canary Admin client and navigate to the Calcs & Events tile.
- Click the ADD button.

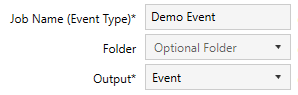
- Provide a Job Name and set the Output to Event.
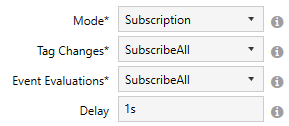
- Determine the Mode by which the event will be evaluated. Subscription modes will evaluate whenever the input tags and/or related events used to create the expression(s) change. Periodic modes will evaluate at set intervals (i.e. 1day, 1hour, etc.). If choosing a Subscription mode, the user can determine which Tag Changes to subscribe to: All, Some, or None. If choosing None, the event will only be evaluated whenever a related event (parent or child) is evaluated using the Event Evaluations drop-down. Event Evaluations are only possible if using the following functions in the expression(s): Event_GetActiveCount, Event_GetAssetInstanceCount, Event_GetCompletedCount, and Event_GetParentVariable. If these functions are not used, the event can only be triggered by tag input changes.
- Set a Backfill Start Time. Upon initially starting, the job will go back to this datetime to find historical events until it reaches Live mode.

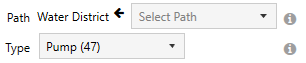
- Optional - If the event is to be asset-based, select a Virtual View using the Path and set the asset Type the event will be monitoring.
- Create an expression using the functions, tags, and operators from the Expression Builder which will serve as the Start Trigger for the event. The expression should be a conditional statement which will evaluate to true or false. For example:

Set the expression equal to a variable key using the box on the left (i.e. "startTrigger") and assign the variable to the Start Trigger.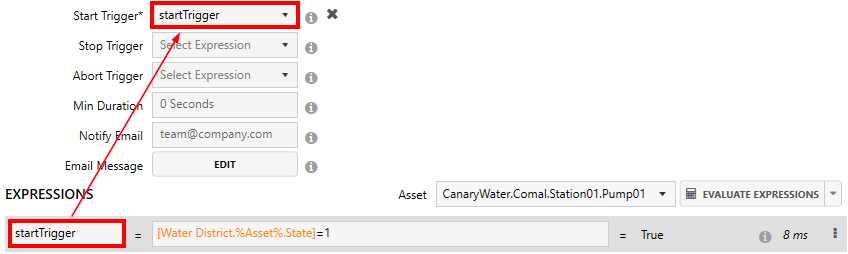
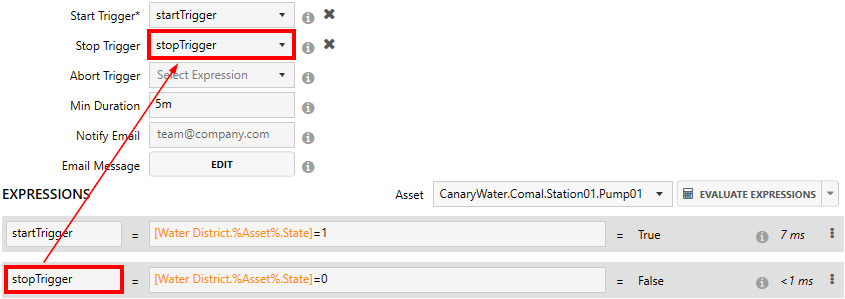
- Optional - Set a Min Duration for the amount of time that must elapse while the defined Start Trigger is true before being considered an event. In this example, the [State] tag must equal 1 for at least 5 minutes before the event is triggered.

- Optional - Create an expression to serve as the Stop Trigger to conclude the event whenever the condition is true. Assign the variable to the Stop Trigger. If a Stop Trigger is not configured, the event will conclude whenever the Start Trigger evaluates false.
- Optional - Create an expression to serve as the Abort Trigger to escape the event whenever the condition is true. Assign the variable to the Abort Trigger. If an Abort Trigger is not configured, the event will conclude whenever the Start Trigger evaluates false, or if a configured Stop Trigger evaluates true.
- Optional - Specify the user(s) to be alerted when the event is triggered using the Notify Email field. Multiple email addresses are separated using a semicolon (;).
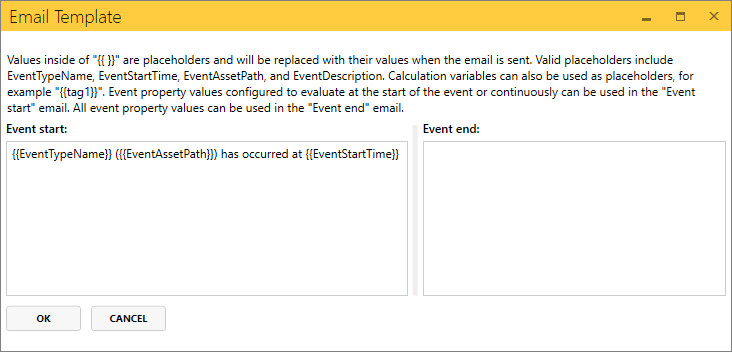
- Optional - Click the EDIT button if wishing to format the email notification that is sent when the event occurs. By default, an email is only sent when the event is triggered. If wishing to send a notification when the event concludes, the Event end email must be formatted.
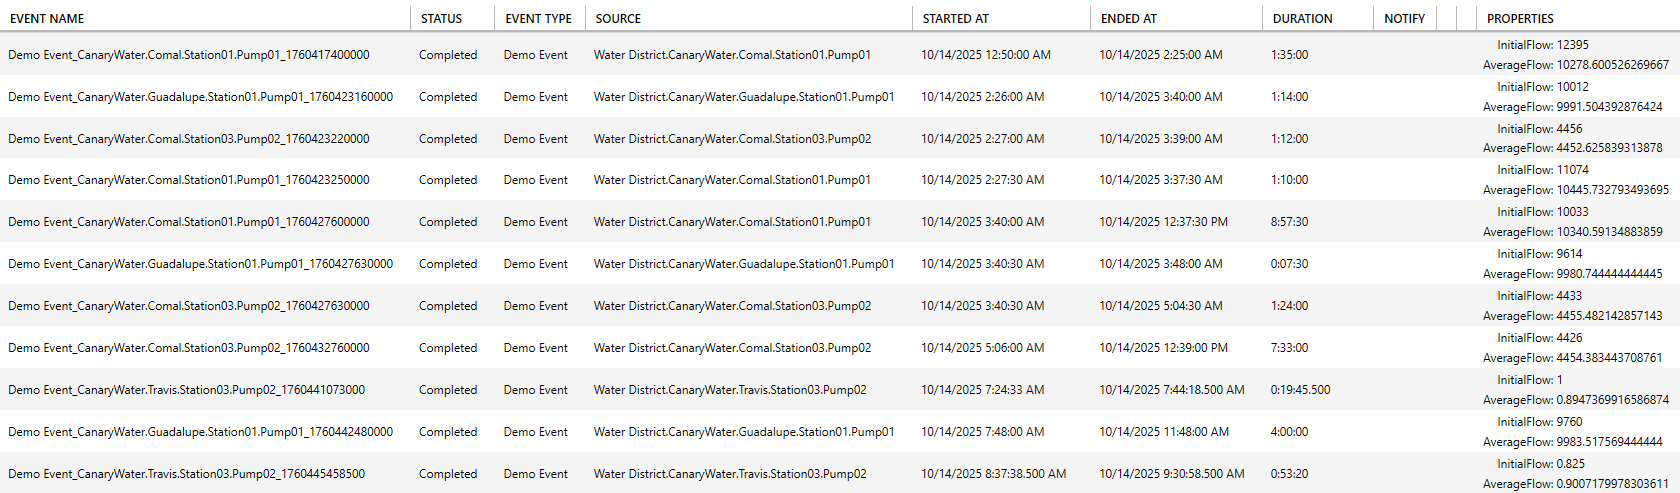
- Optional - Add any additional expressions to serve as Event Properties. Event properties are stored alongside the event instance in the database. They can be calculated at the start or end of an event, or continuously throughout the event whenever tags/related events change.
If using an aggregate function within the expression, the variable "EventDuration" can be used in place of the interval to calculate the aggregation over the entire length of the event.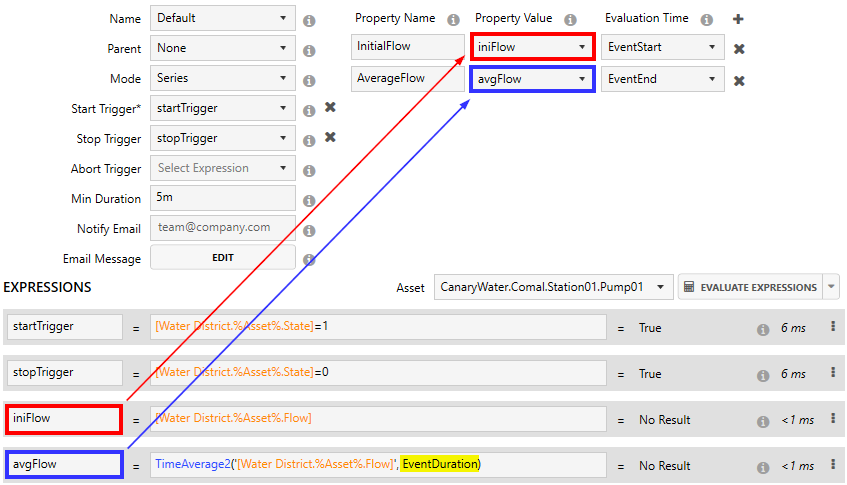
- Optional - Select a Name for each event instance. By default, the Calculation service will generate a name using a combination of the Job Name, asset instance (if applicable), and the start time of the event. Otherwise, the user can create an expression and set it equal to a variable key. A common use-case may be a batch ID or order number that is derived from a tag in the Historian.
- Optional - If creating a child event, the user can select a parent event from the Parent drop-down. If it is asset-based, the child event must be based on the same asset type as the parent event or a child asset of the parent. Child events are only monitored if their parent event is active.
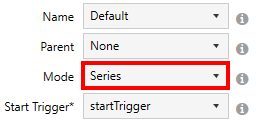
- Determine the Mode to control how many events can occur at the same time. Series events occur discretely and cannot start if another event instance is still in progress. Parallel events overlap and can start even if there are one or more event instances still in progress.
- APPLY changes and navigate back to the Jobs screen to start the event. The job will go through an Initializing and Backfilling phase before it gets to Live mode.
Events can be viewed by right-clicking the job and selecting Browse Events.