
Installing the Canary System (version 24)
When installing Canary for the first time, it is imperative that the server which will host Canary's Identity service be installed first as other remote Canary servers must be configured to connect to it during their installation. The Identity service acts as the single endpoint for authenticating and authorizing users. In almost all cases, the Identity service will be installed local to the Historian, although it can be installed elsewhere.
If a network were to contain multiple Historian servers, only one Identity service is needed. Canary services that are remote from the Identity service would be pointed to it during the installation process.
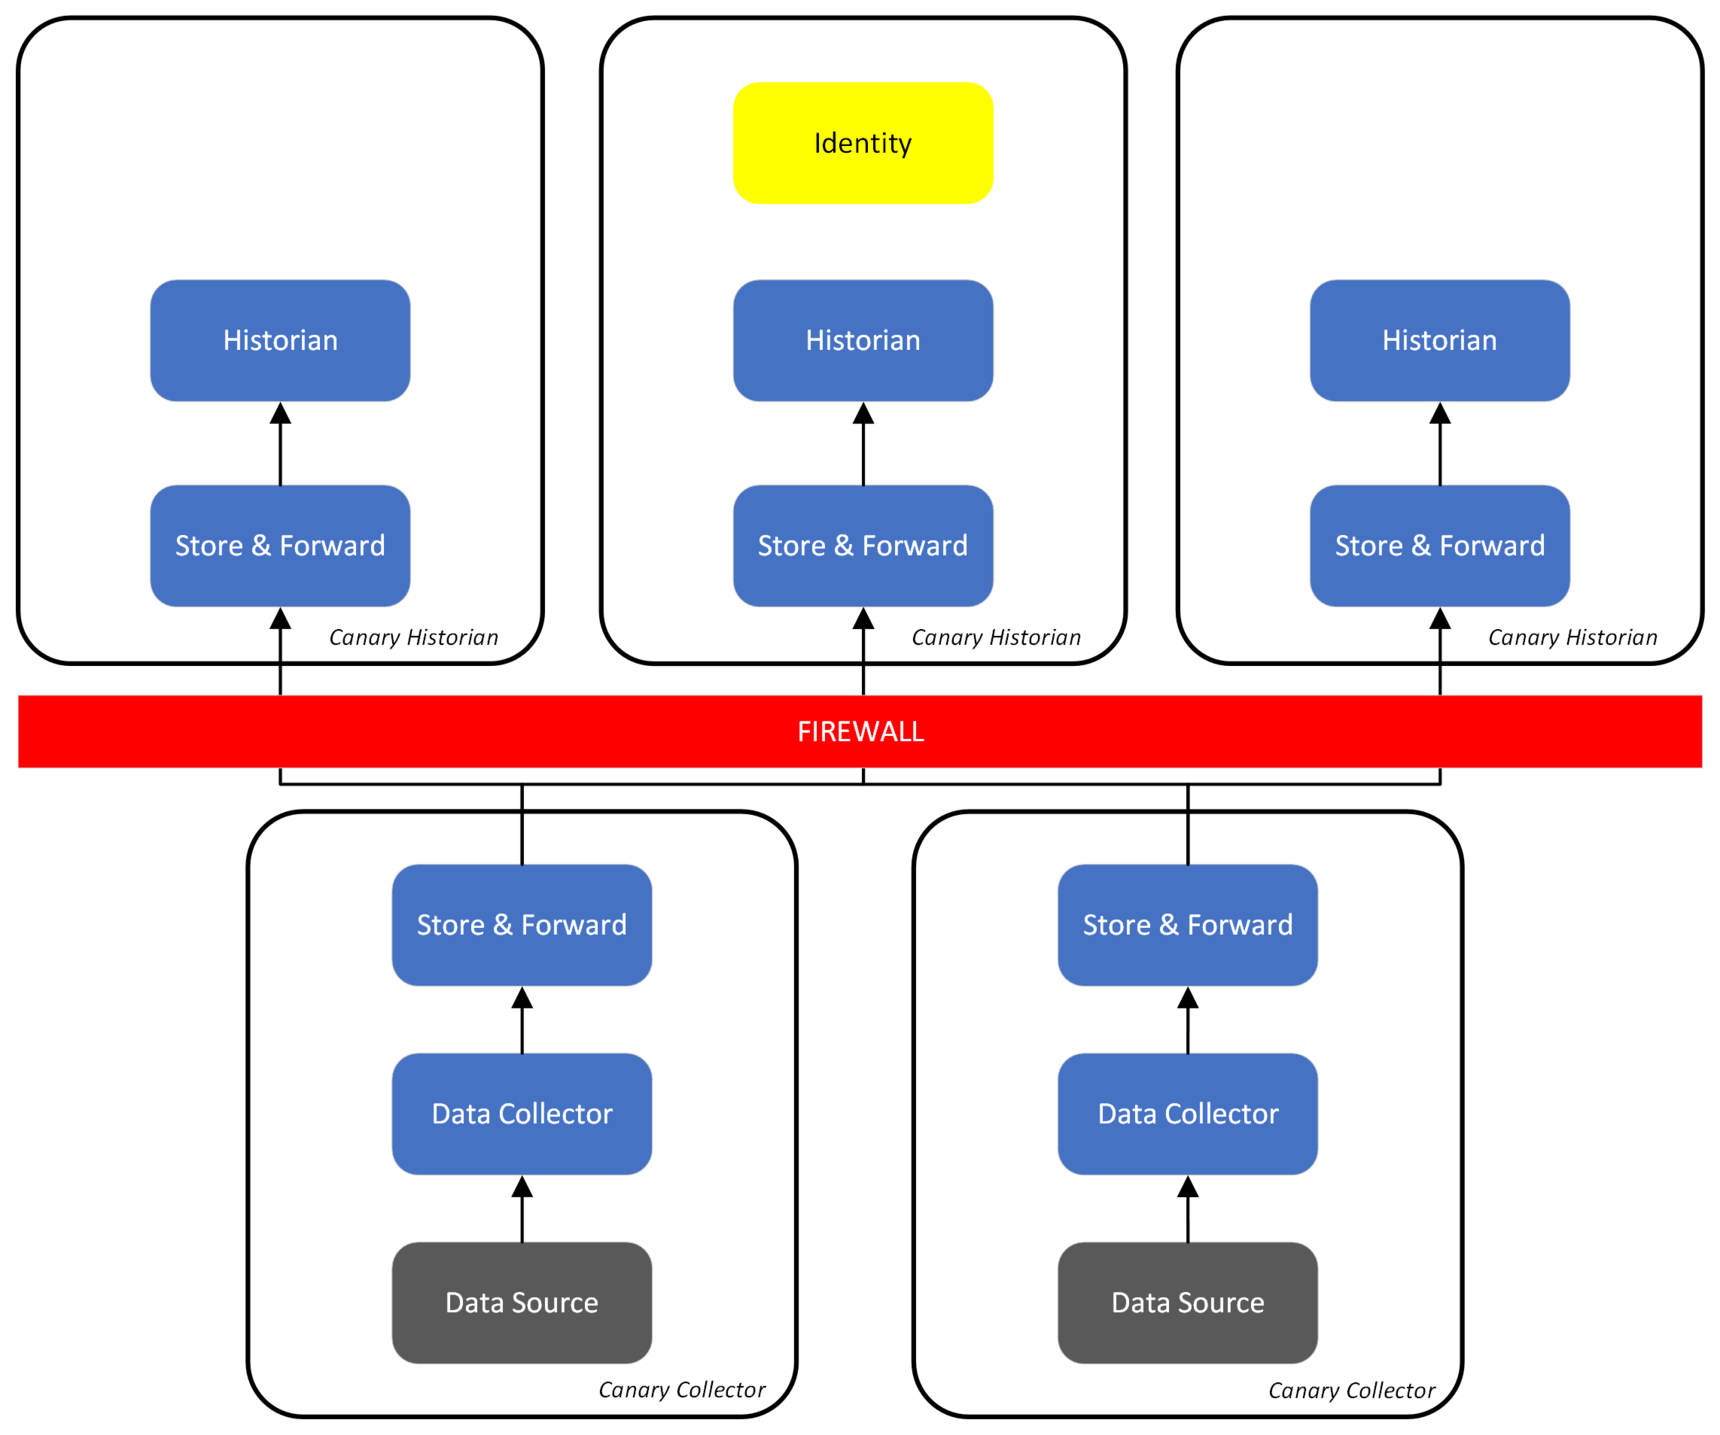
If the Canary system is deployed across an architecture that contains multiple networks, an Identity service may be needed for each one. As seen in the diagram below, the Identity service is installed in the Level 3 and Level 4 network as they are separated by a DMZ preventing them from communicating directly.

Installing Canary
The CanaryInstaller-*.*.*.exe is used for all parts of the Canary System. If you do not have the CanaryInstaller, ask your Canary representative or visit https://canarylabs.com/try-canary and select the Talk To A Live Human tab.
Typically, different modules are installed based on the purpose of the server:
- Data storage and contextualization
- Data collection
- Client tools for reporting
A silent install option is available upon request.
Historian Installation
- Run the file CanaryInstaller-*.*.*.exe with elevated privileges and select Custom Install.
- Select the system modules you desire to install and deselect modules not appropriate for the desired solution. Typically, the following modules are installed on a dedicated machine for the Canary Historian:

- Admin Service
- Axiom (refers to the Axiom Core, not an Axiom client)
- Calculations & Events
- Historian
- Identity (local or remote*)
- License (local or remote**)
- Store & Forward
- Views
- Admin Client
*In most cases, the Identity service will be local to the Historian. If not, select remote and provide the server name of the Identity service on the next screen. See Identity Architectures for more details.
**It is recommended that each Historian use a local License service. See License Service and Architectures for more details.
- Select Next.
- If the Identity and/or License service are remote from the Historian, provide the server name of where these service(s) are installed. Otherwise, choose the installation paths for Canary's software or take the defaults.

- Select Next to review the components to be installed then select Install.
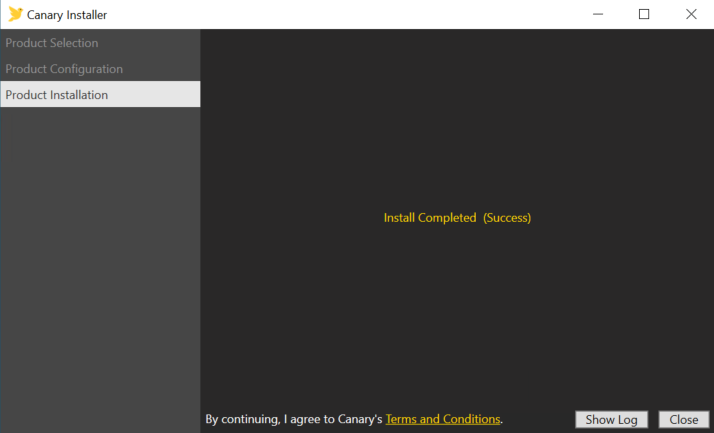
- When the installation is complete a Success message will appear on the screen.
Data Collection Installation
Although data collectors can be installed local to the Historian, often they are installed on a separate server as close to the data source as possible. By installing a data collector local to the source (e.g. OPC server, MQTT broker), the user can take advantage of Canary's Store and Forward (SaF) capabilities to buffer data in the event of network outages.
- Run the file CanaryInstaller-*.*.*.exe with elevated privileges and select Custom Install.
- Select the system modules you desire to install and deselect modules not appropriate for the desired solution. At a minimum, you must install the following:

- Admin Service
- Identity (local or remote*)
- Store & Forward
- Admin Client
- Data Collector(s) of choice (OPC DA, OPC UA, MQTT, CSV, SQL, CygNet)
*In most cases, the Identity service will be remote from the Data Collector, assuming the Data Collector is installed remotely from the Historian.
- Select Next.
- If the remote Identity option was selected, provide the server name where the Identity service is installed on the network. Choose the installation path of Canary's program data and executables.

- Select Next to review the components to be installed then select Install.
- When the installation is complete a Success message will appear on the screen.

Client Tool Installation
Data queries can be made via the Excel Add-in client, the ODBC client, and the Axiom client tools. Only Excel Add-in and ODBC require installation. Axiom runs with a web browser and does not require installation. The Axiom component listed under Historian Installation refers to the Axiom Core that needs to be installed as part of the Historian server.
The Admin Client can also be installed separately on a client machine if an admin user wishes to connect to a Canary server remotely to administer the system.
- Run the file CanaryInstaller-*.*.*.exe with elevated privileges and select Custom Install.
- Select the system modules you desire to install and deselect modules not appropriate for the desired solution. Choose from the following:

The above screenshot illustrates an example of an Excel Add-In install.
- Excel Add-in
- ODBC Client*
- Admin Client
*If installing the ODBC Client, make sure that the 'ODBC' module has been installed on the Historian server.
- Select Next to review the components to be installed then select Install.
- When the installation is complete a Success message will appear on the screen.

Modifying the Installation
Should changes need made to a current Canary install, follow these steps:
- Run the file CanaryInstaller-*.*.*.exe with elevated privileges and select Repair/Change.
- Select the system modules you desire to install and deselect modules you wish to uninstall.
- Select Next.
- Select Next to review the modules being added/removed.
- Select Repair/Change. When the installation is complete a Success message will appear on the screen.
Uninstalling Components
To uninstall all Canary services, follow these steps:
- Run the file CanaryInstaller-*.*.*.exe with elevated privileges and select Uninstall All.
- Review the components to be uninstalled and select Uninstall.
- When the uninstall is complete a Success message will appear on the screen.