
Connecting Canary to Power BI (version 26)
The Power BI Add-in was introduced in v26.2. If needing to connect with Power BI using the Read API in a previous version, see Connecting Canary to Power BI (version 25). The user also has the option of connecting with the ODBC Connector.
Overview
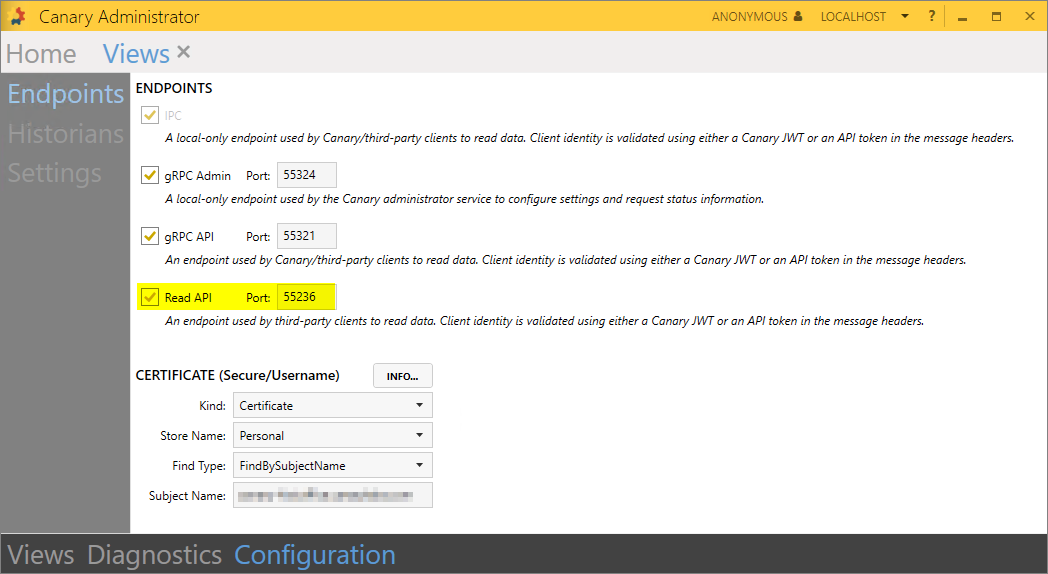
Canary's Power BI Add-in is built on top of its web API used for consuming data into 3rd party applications. Inasmuch, it connects to the Views service over HTTPS using port 55236.
Configuration
Prerequisite
A trusted certificate with its private key will be needed for the Views service users connect to; otherwise, Power BI will throw the following error if the source is not trusted:

Once the certificate is installed on the Canary server, update the Views service to use the new certificate through the Views>Configuration>Endpoints screen pictured above. (See Using a TLS Certificate for Canary Services for more details.)
Installation
- On the client machine, run the CanaryInstaller.exe and check the Power BI Add-in.
If other client applications (i.e. Excel Add-in) are already installed on the machine, leave these checked as unchecking them will uninstall the application(s).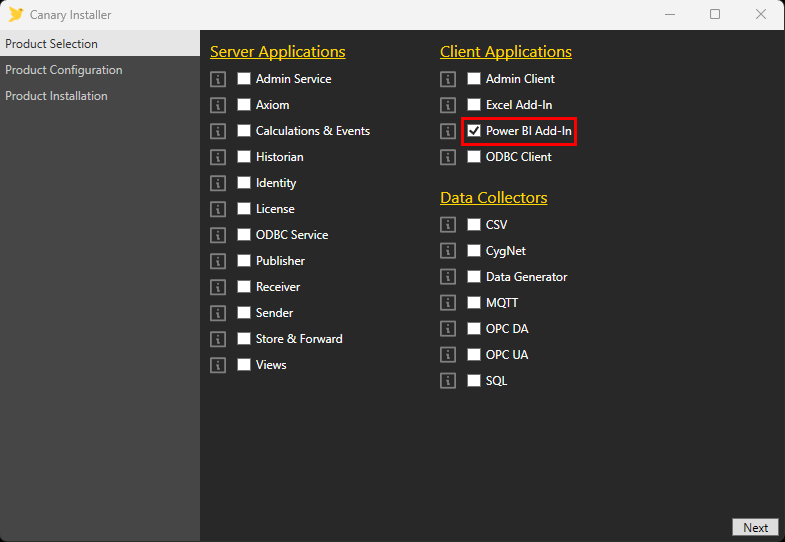
- Open Power BI and select the Get Data function from the ribbon.
- Search for "Canary" and select the Canary Labs Connector.
If the connector does not appear, verify the CanaryLabsConnector.mez file resides in: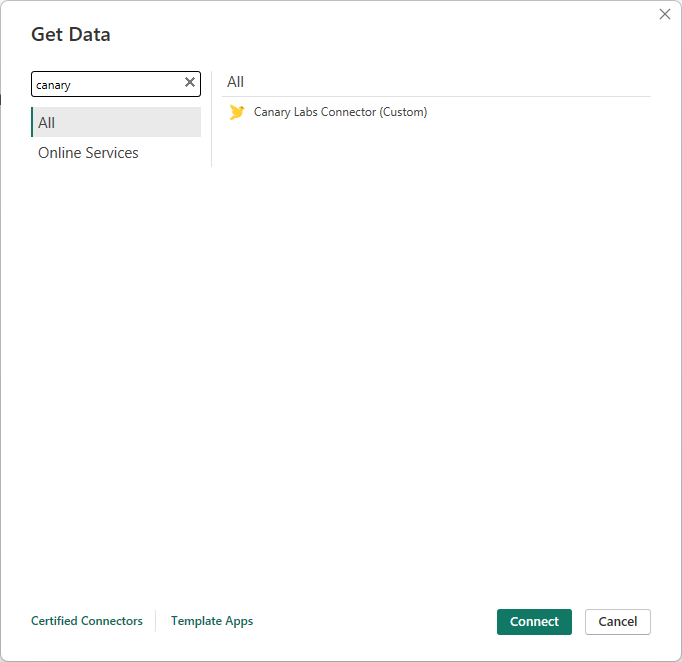
C:\Users\[user]\Documents\Power BI Desktop\Custom ConnectorsOr if using OneDrive:
C:\Users\[user]\OneDrive\Documents\Power BI Desktop\Custom ConnectorsIf this directory does not exist, the user must create it and copy the CanaryLabsConnector.mez file from
C:\Program Files\Canary\Power BI Add-In - Input the Machine Name or endpoint of the Views service. This should match the subject name of the trusted certificate.
Only change the Port number if not using the default 55236.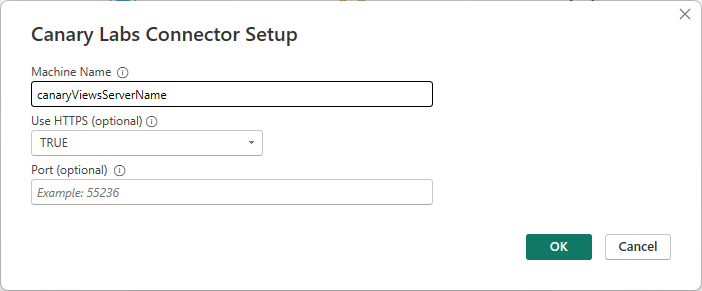
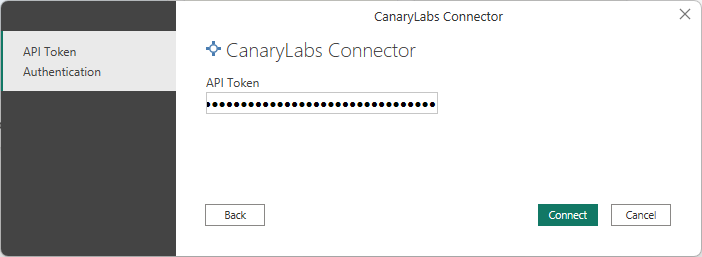
- Input an API Token for authentication. Tokens are generated within the Identity service. See How to Create an API Token. The user assigned to the token will need read permissions to the view(s) within Tag Security if it is enabled.
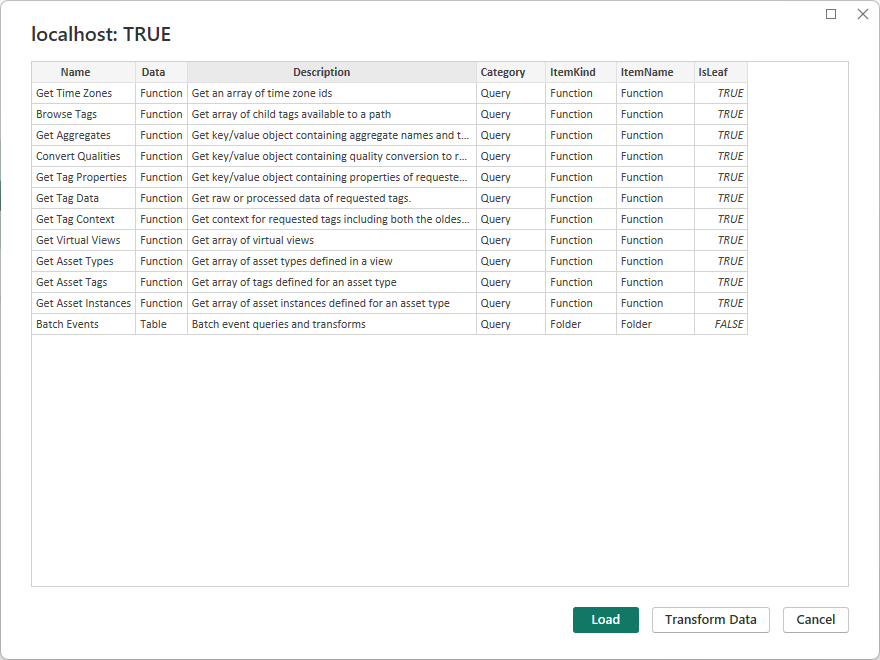
- Once connected, a list of functions will appear. Click Transform Data.
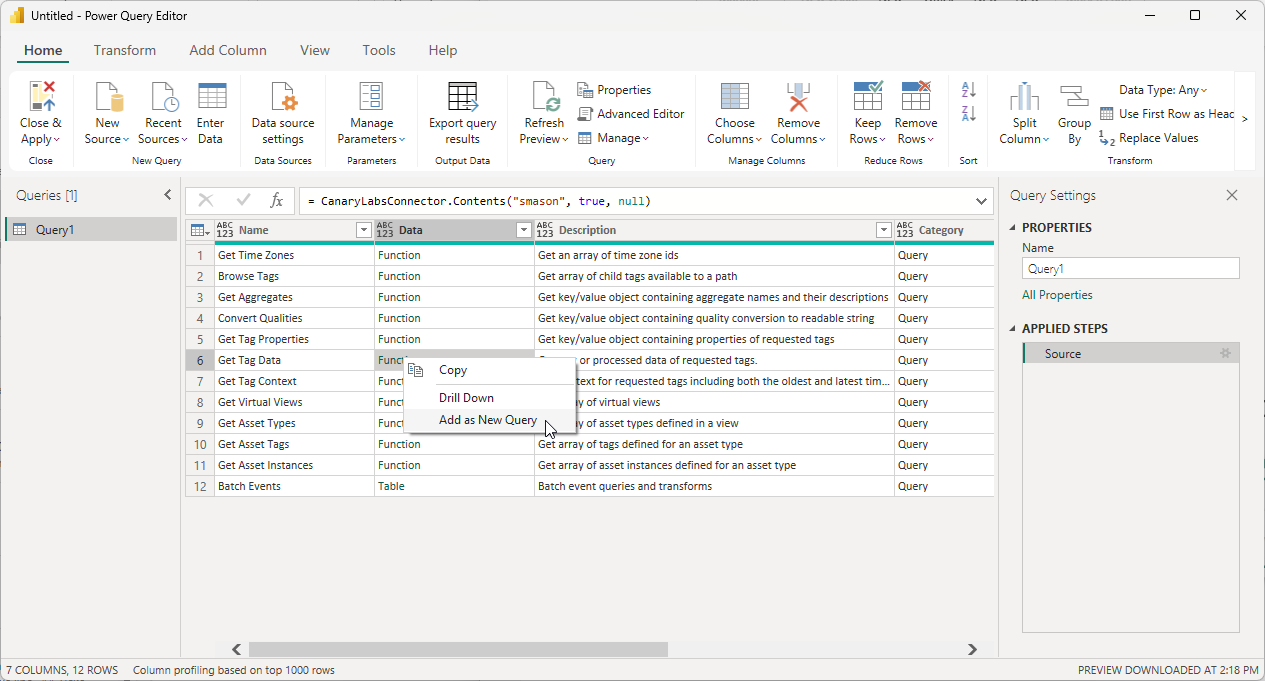
- Users can click the Functions link in the Data column or right-click and select "Add as New Query". The latter option will allow users to build queries on top of one another.
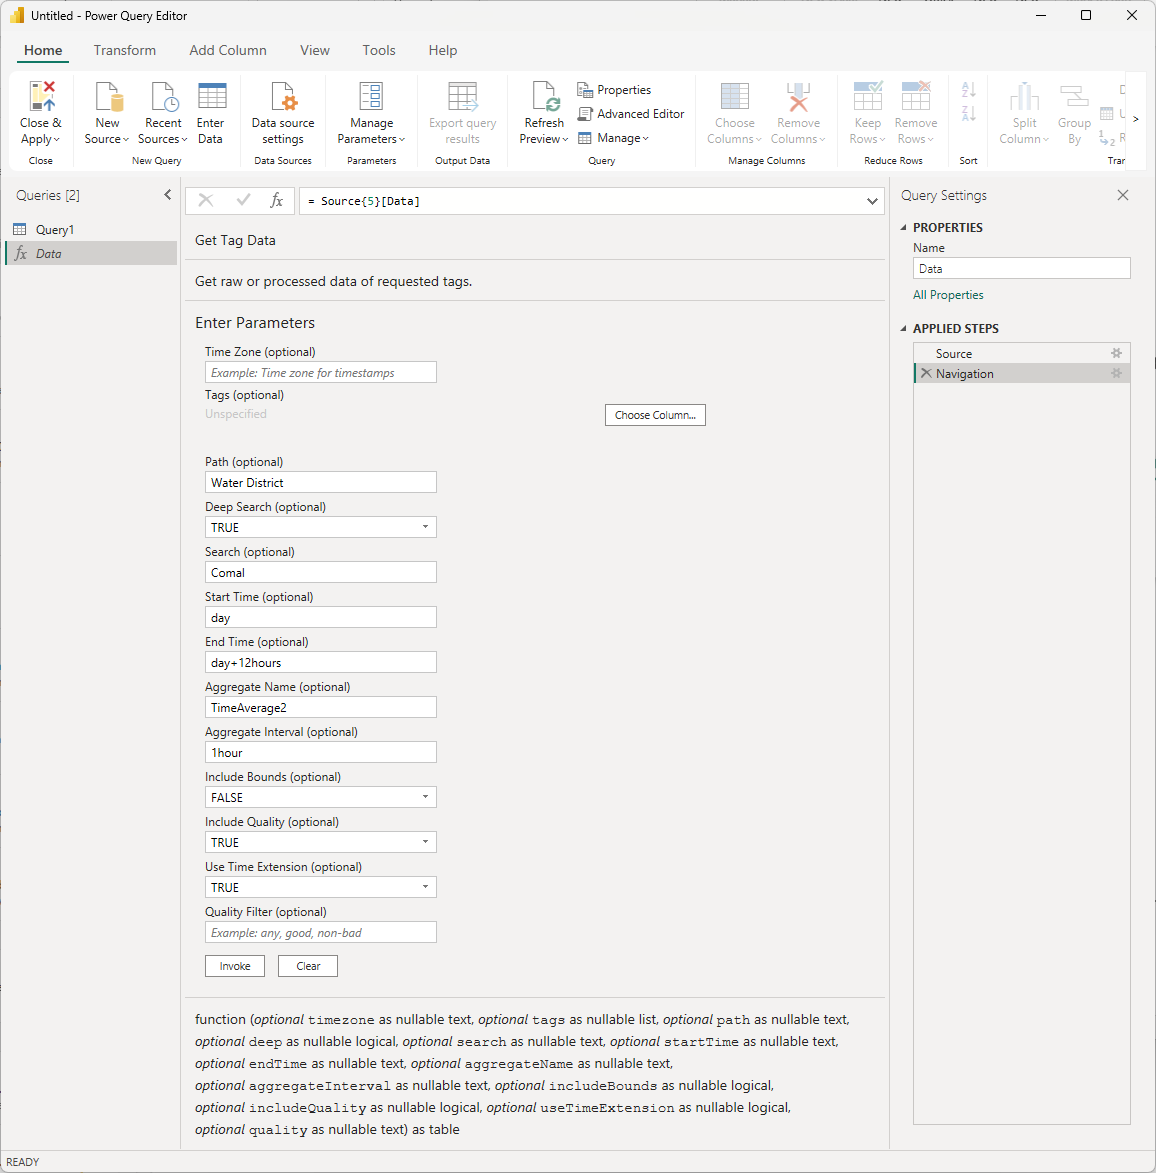
- Input the necessary parameters and click Invoke. Parameters and their descriptions can be located at https://readapi.canarylabs.com with their respective function name.
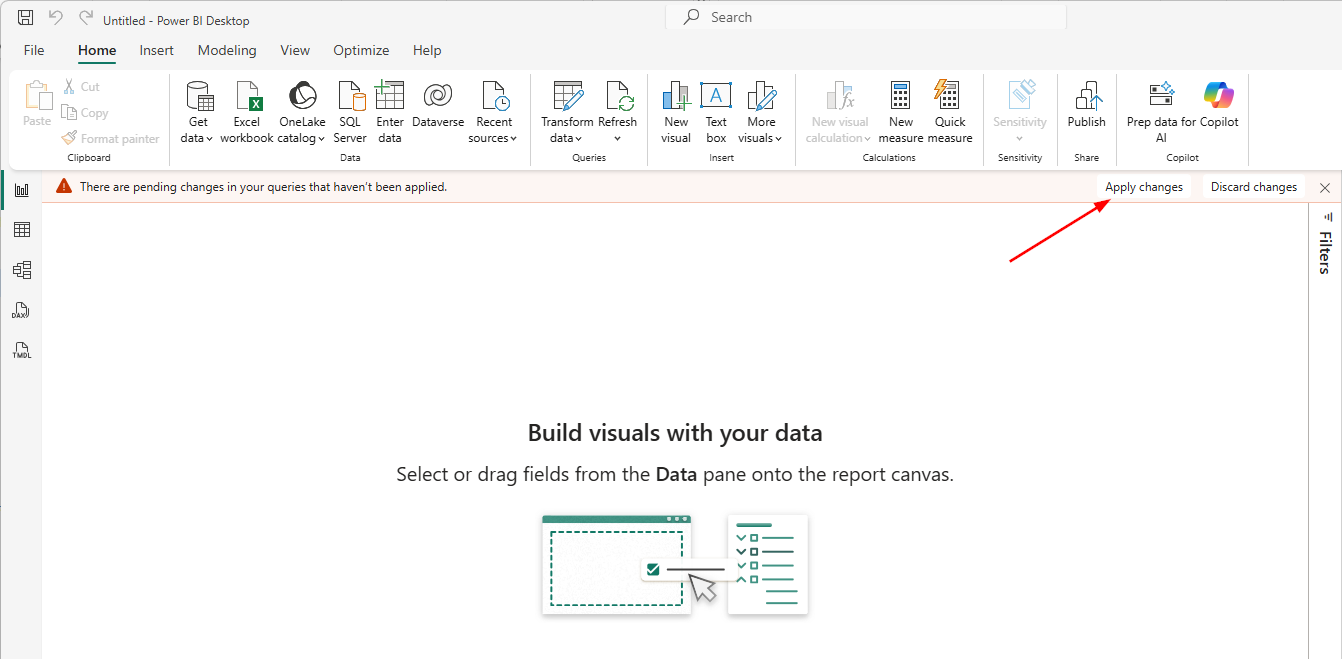
- Apply changes in the report window.
- The Invoked Function will appear in the Data panel on the right allowing the user to enable specific elements for the report.
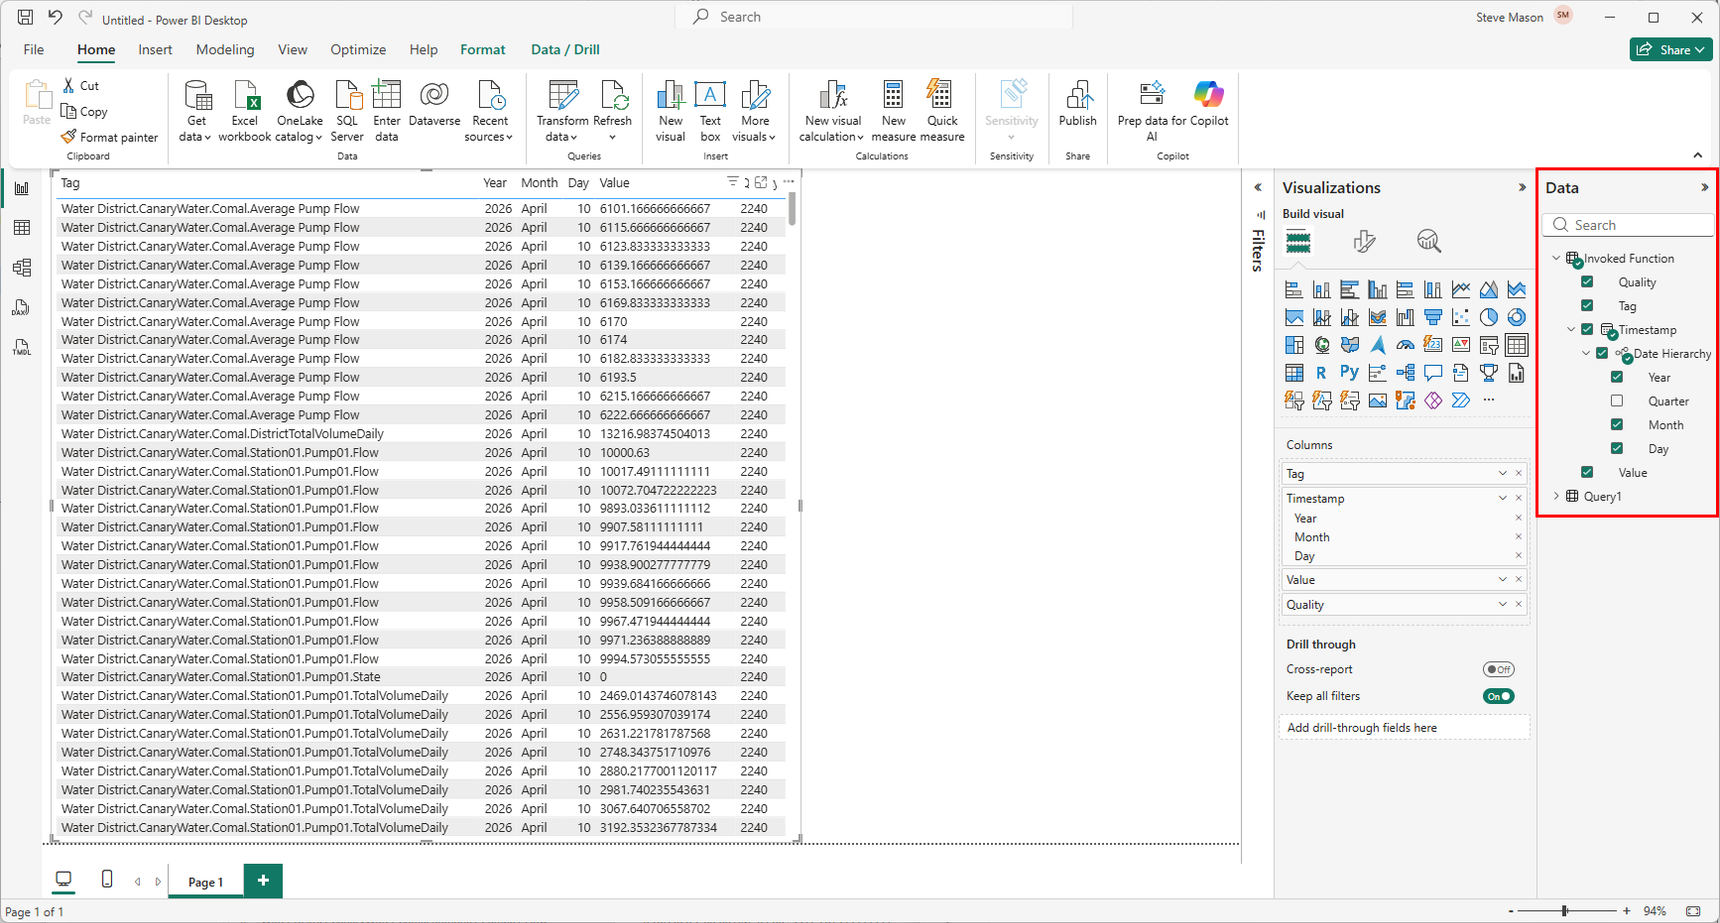
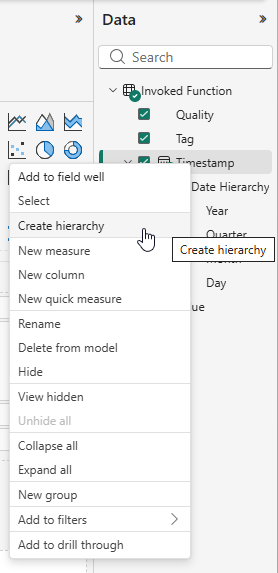
- By default, Power BI creates a hierarchy of the timestamp using Year, Quarter, Month, and Day. To display the entire timestamp, right-click the Timestamp node and select Create hierarchy. A new Timestamp Hierarchy will appear displaying the entire date-time.
Batch Events
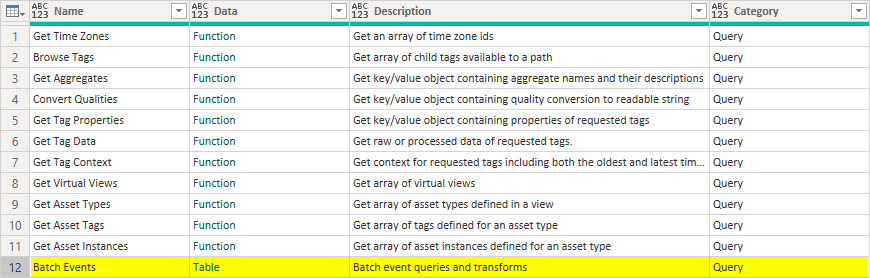
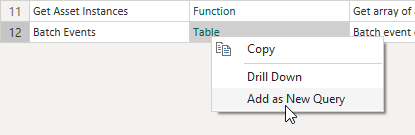
The Batch Events table is used to return Canary events configured in the Calcs & Events tile.
- Right-click the Table link and select Add as New Query.
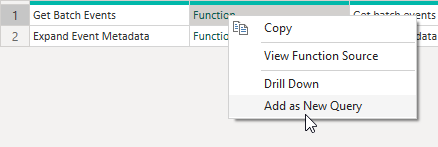
- Right-click the Function link from the Get Batch Events row and select Add as New Query.
- The Enter Parameters query will appear.
If wishing to filter across ALL event types, fill in the desired parameters then click Invoke.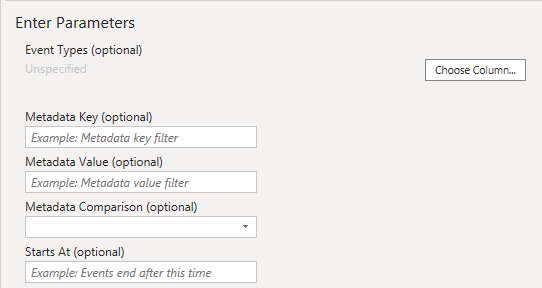
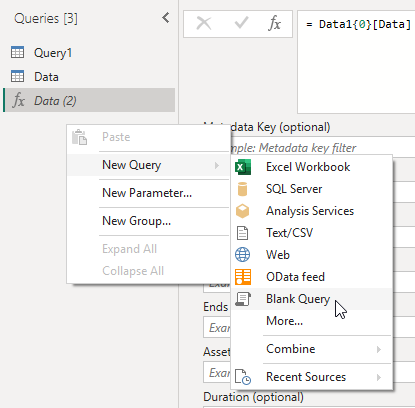
If wanting to narrow the scope of event types to be filtered, a preliminary table containing the desired event types must be created.- Right-click the blank space in the Queries side-bar and add a new Blank Query.
- With the new query selected, click the Advanced Editor button from the top ribbon.
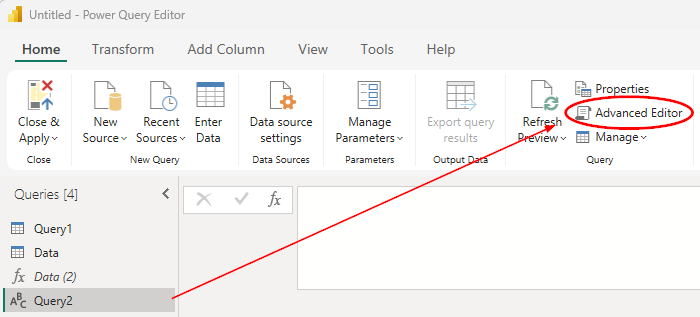
- Paste the following script into the query window containing the event type names to be returned then click Done.
let Source = Table.FromRows( { {"eventTypeName1"}, {"eventTypeName2"}, {"eventTypeName3"} }, {"EventType"} ) in Source - Navigate back to the Enter Parameters query and select Choose Column...
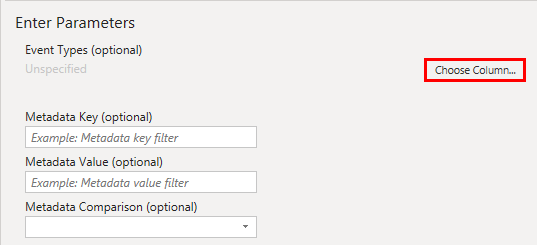
- Select the newly created Query and the EventType column. Click OK.
The function will now only return these specific event types based upon the parameters provided.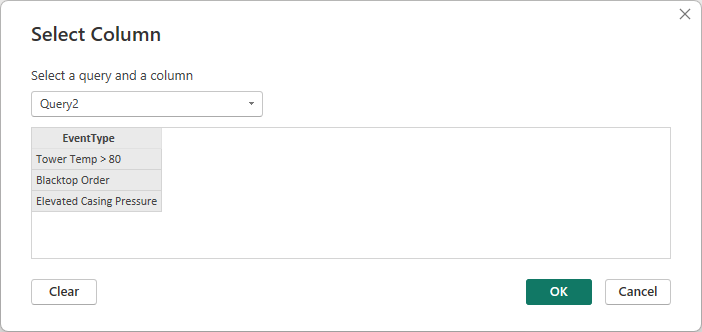
- Right-click the blank space in the Queries side-bar and add a new Blank Query.
2 replies
-
IF you are like me and don't see the Canary Power BI connector even though you installed it, you may have to use a path something like this if you use OneDrive.
C:\Users\<username>\OneDrive\Documents
In other words, you may have to copy the "Power BI Desktop\Custom Connectors" folder with the CanaryLabsConnector.mez file
from C:\Users\<username>\Documents
to C:\Users\<username>\OneDrive\Documents
I had to do that as well as going into Power BI, Options, Security, Data Extensions, and check the box for "Allow any extension to load without validation or warning (though there may be a better approach than that).